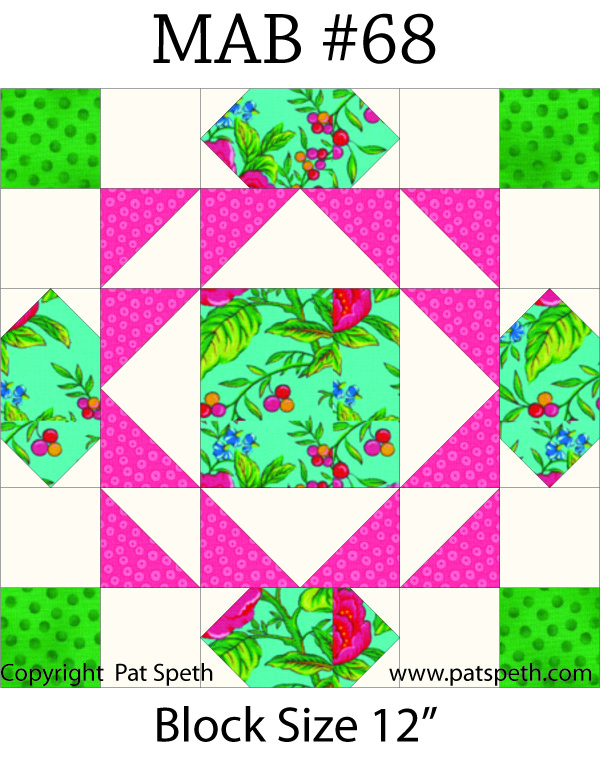
Member Appreciation Block #69 (MAB) is now in the Files Section of our Facebook Group as well as on my website as a free download!
Please keep up the great work of sharing information about our Facebook Group and Blog including this post!

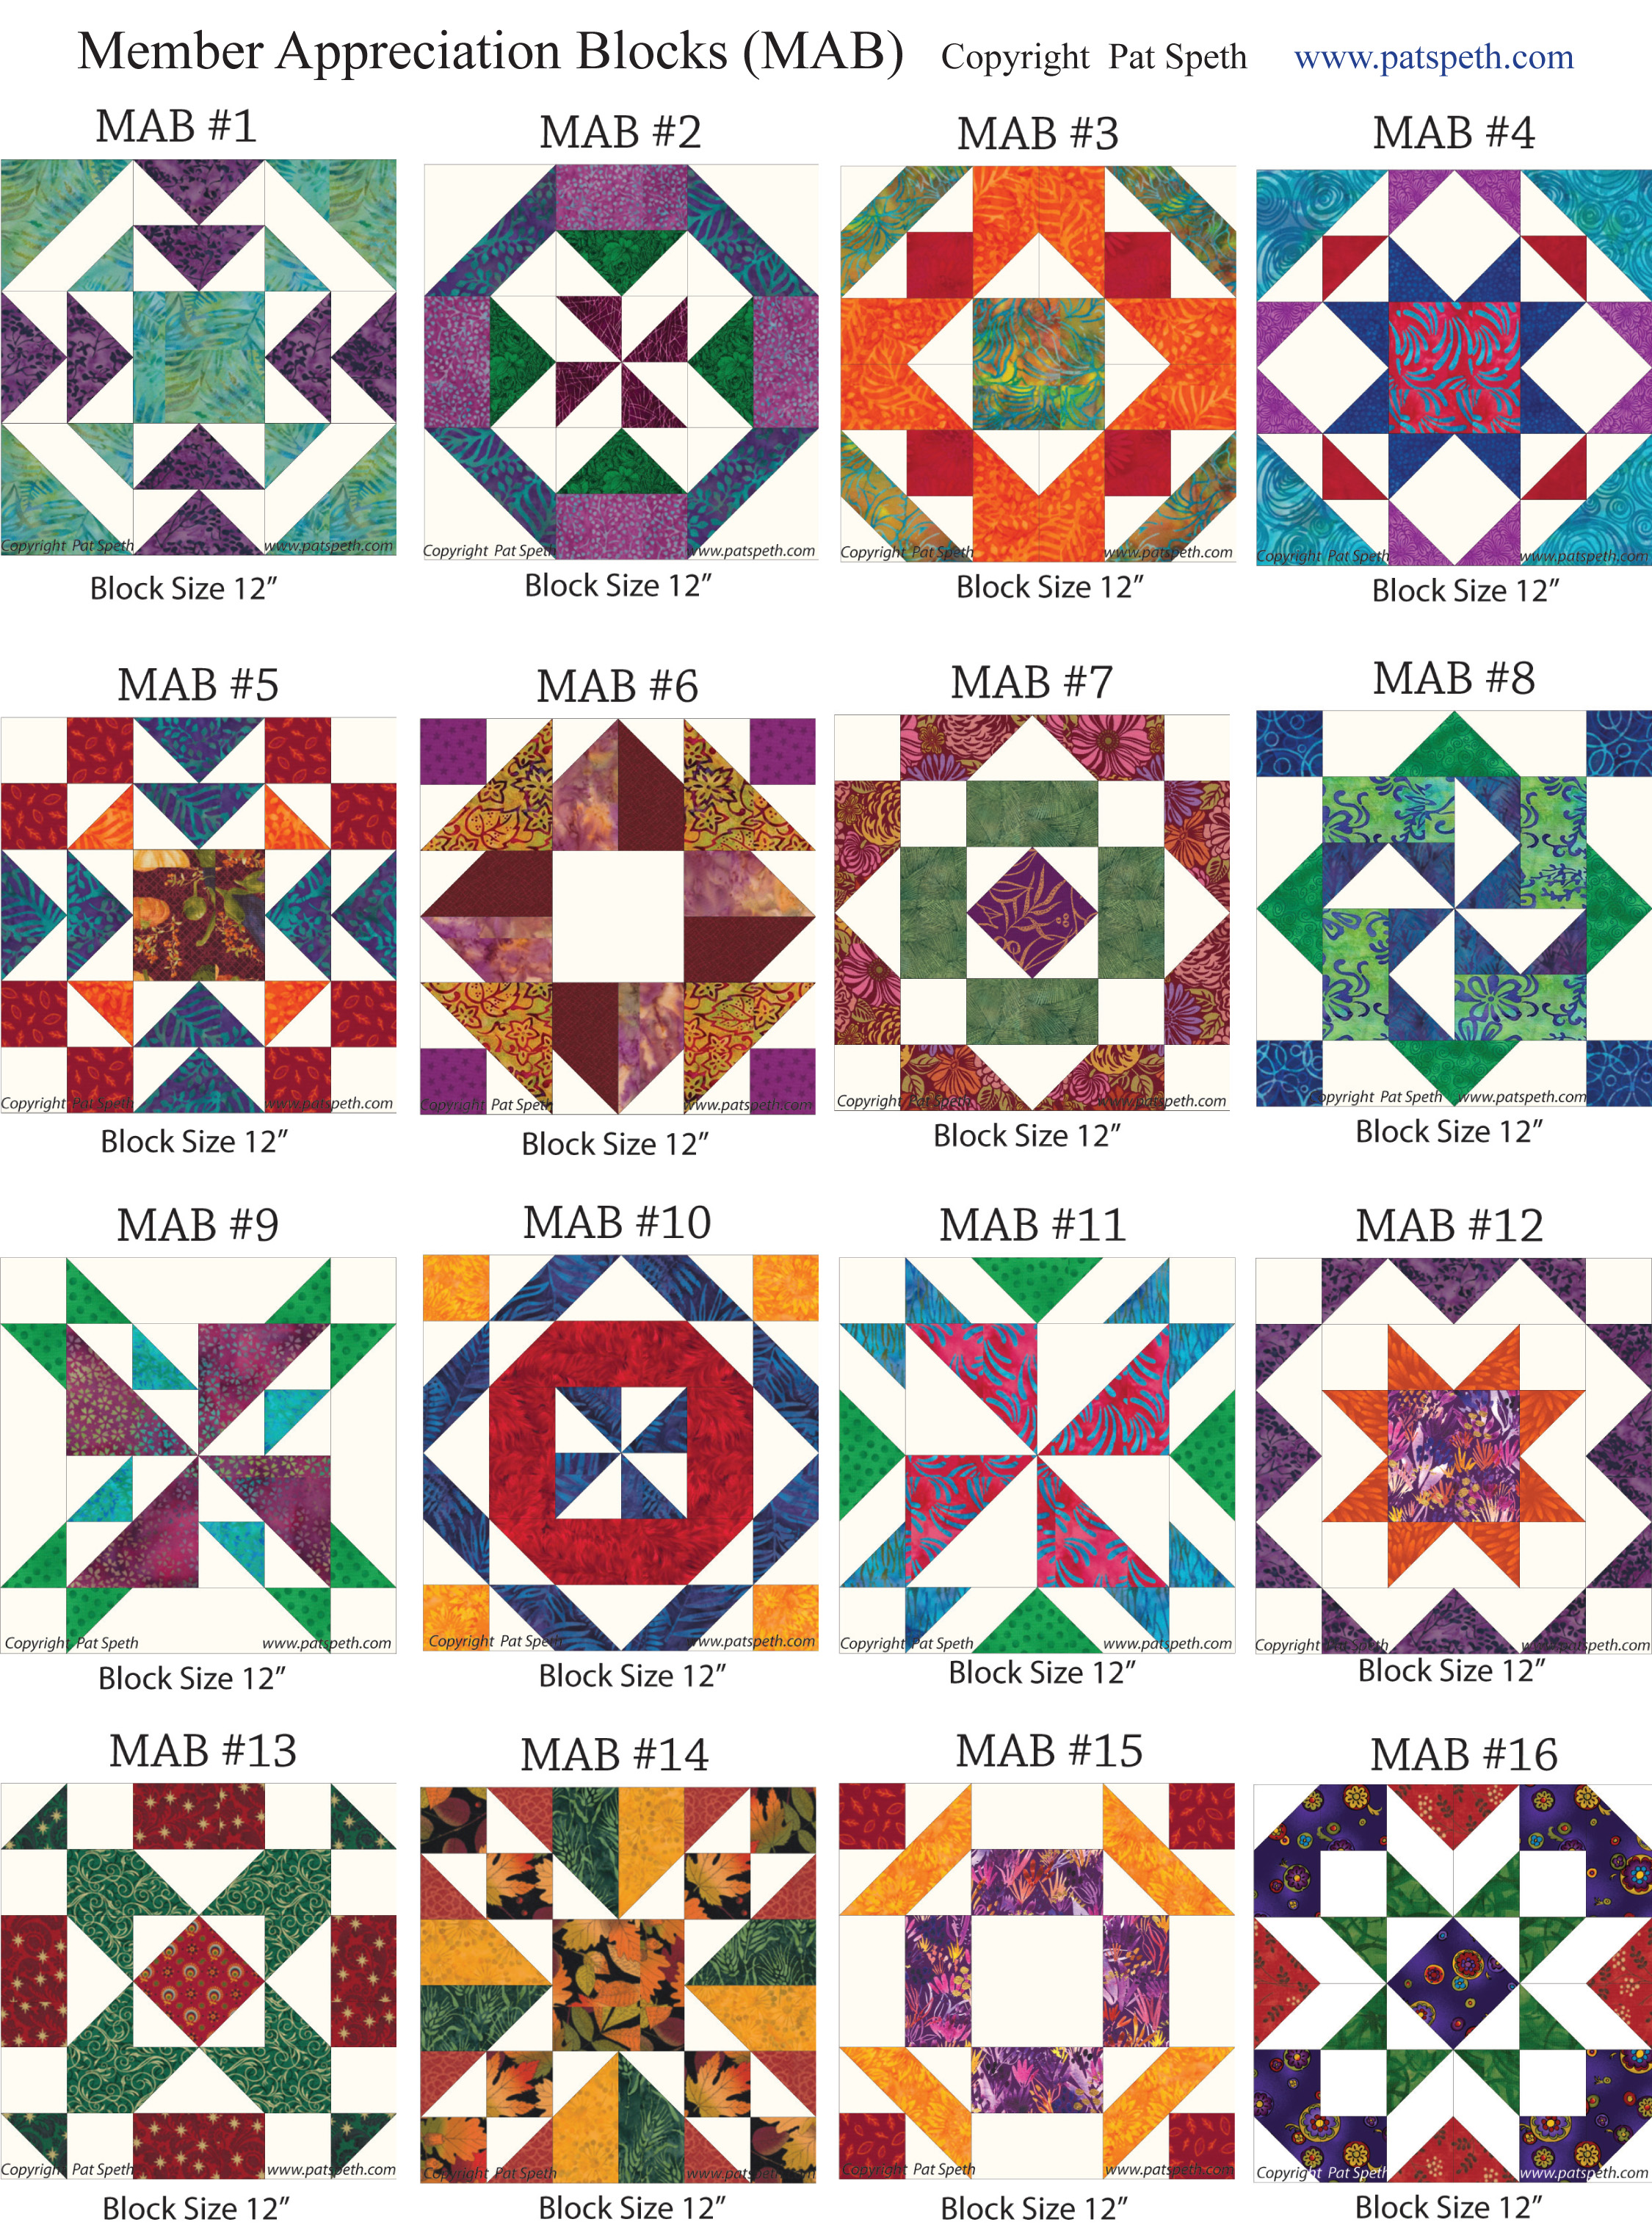
Member Appreciation Blocks (MAB) – What are they?
I wanted to do something special for our Facebook Group, so to celebrate the growth of this group for every 100 members I am going to post a new block. Yes I am way behind!
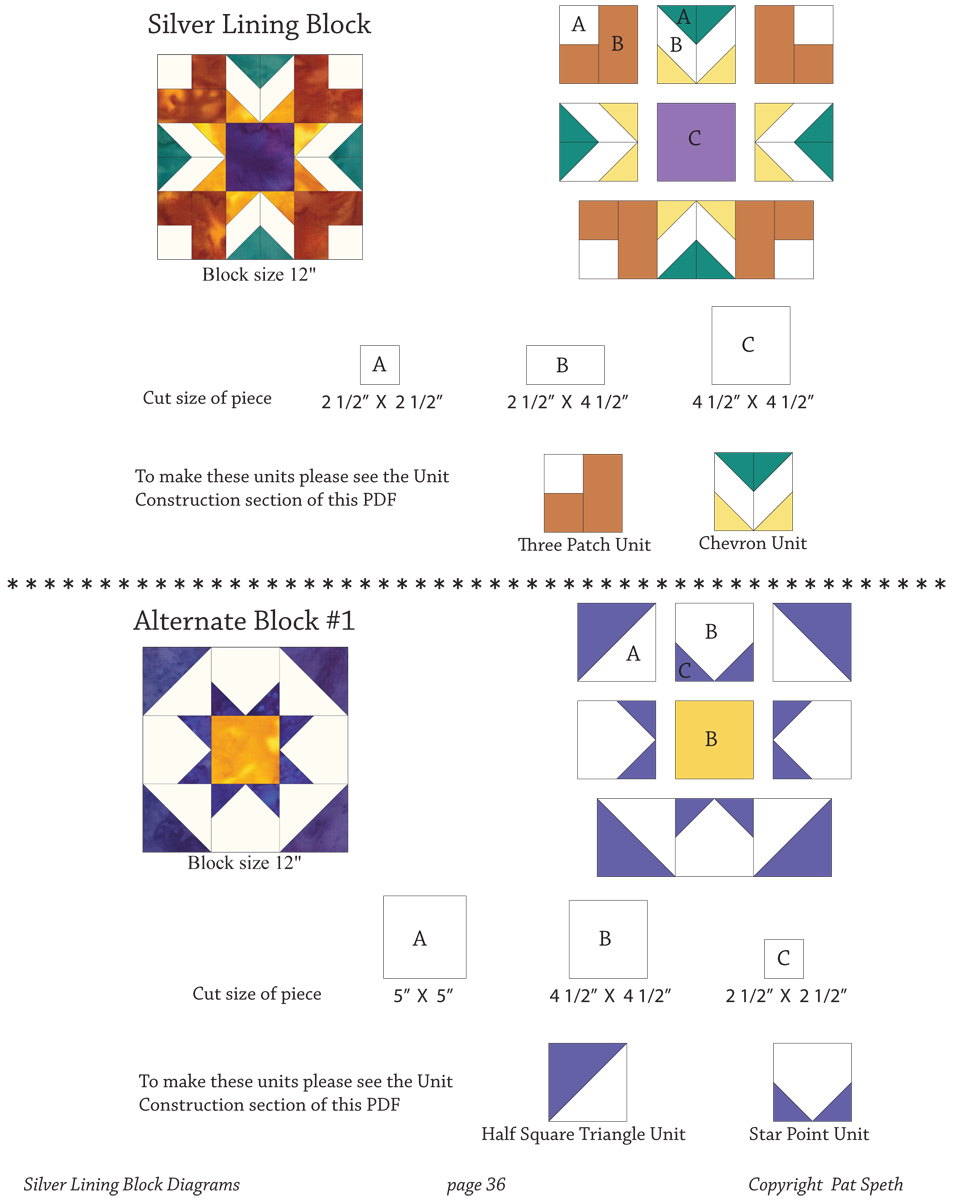
I am providing a PDF of each block that shows:
Full color block
Block Assembly Diagram
Piece Cutting Information
Units Used in this Block Diagram
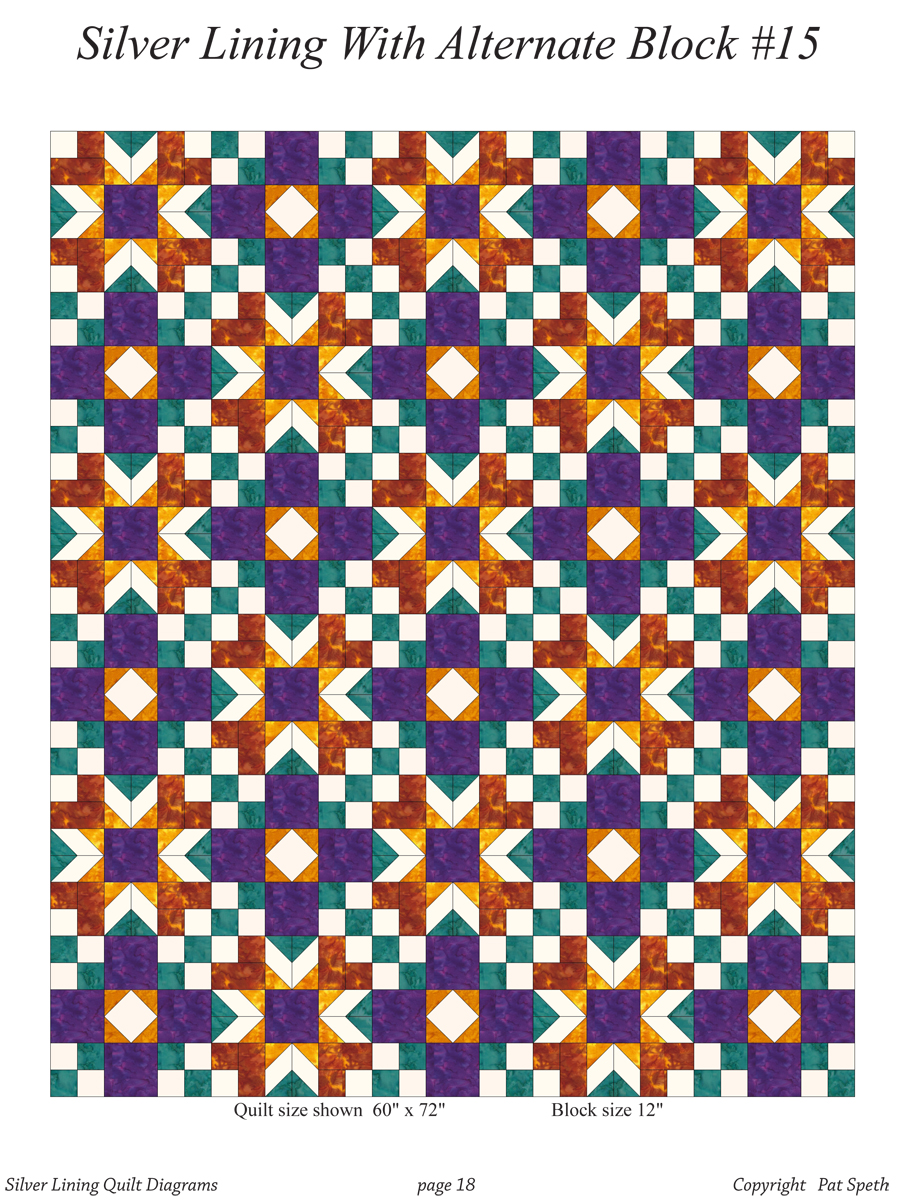
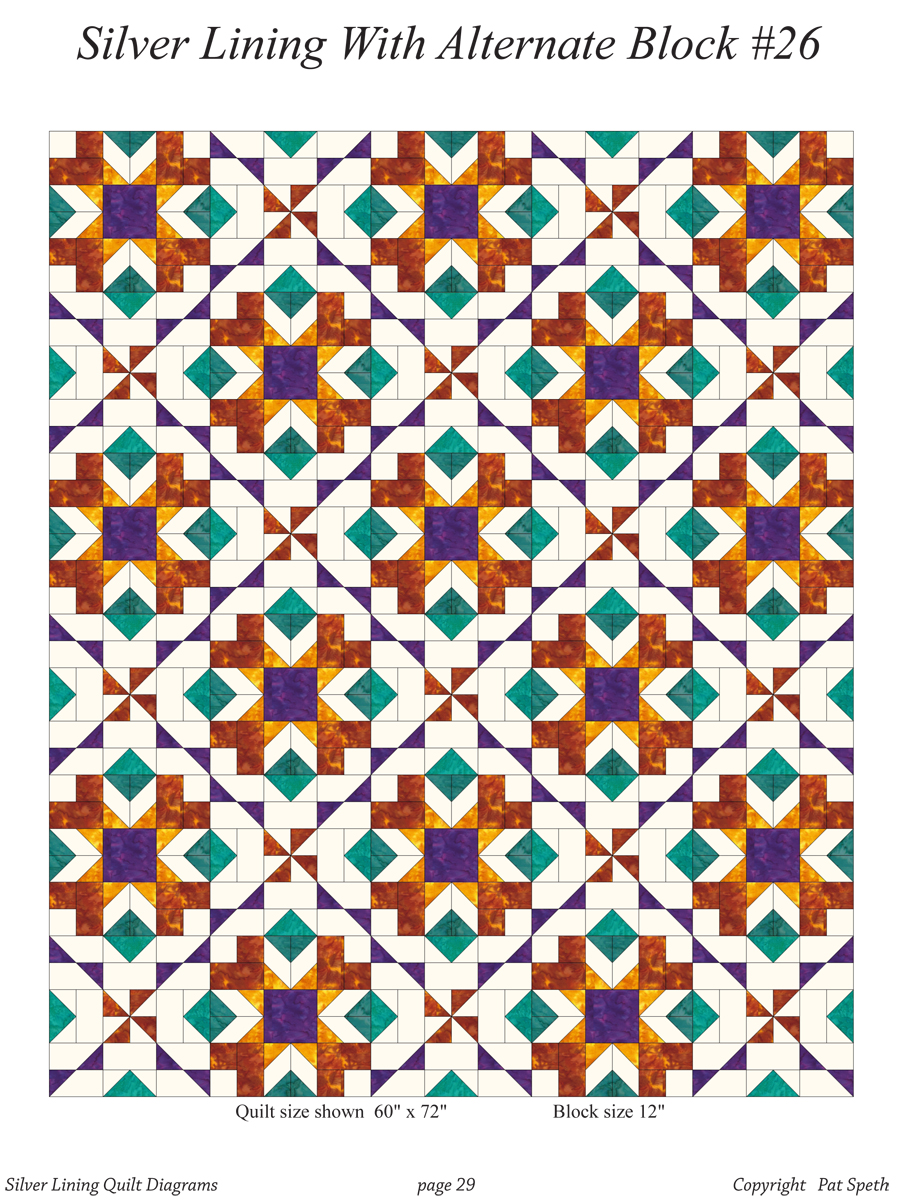
I am not providing the quilt assembly information or material requirements for the MAB blocks. These are 12″ blocks so there are many setting options you could choose from as well as choosing the size of quilt you would like to make. You can use them in sampler quilts, two block quilts, and of course in a quilt using just one block.
Where can the PDFs be found?
I upload the PDFs to the Files section of our Facebook Group and on my website.
Now available for purchase is my EQ7 project file for Member Appreciation Blocks (MAB) #1 through #45.
Have fun with these blocks and let your creativity soar!
Pat Speth
Link to our Facebook Group https://www.facebook.com/groups/patspeth